Hear me talk about citation. Huzzah!
Sea-O-Sphere 2
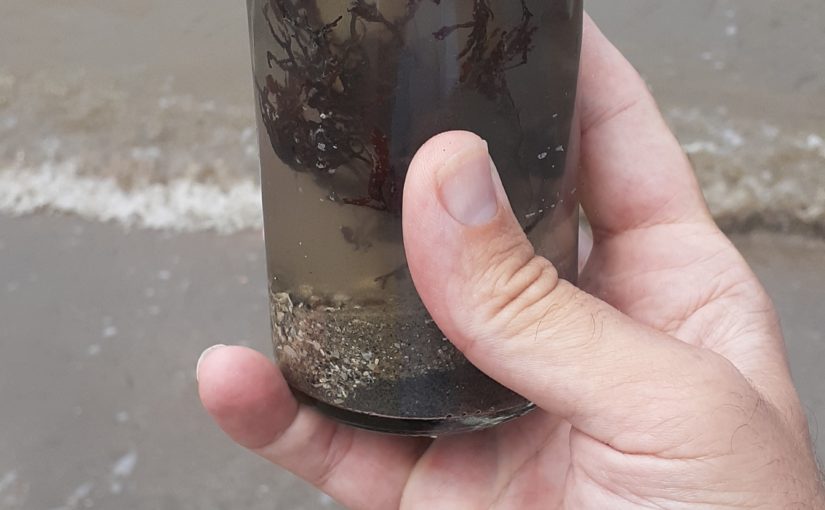
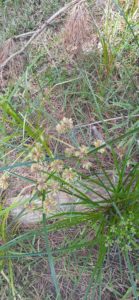
I got a chance to go to Galveston today and so I collected some water for Sea-O-Sphere 2. I got some of the water from this one from a tidal pool and the rest straight from the ocean near East Beach.

In the photo, straight ahead is the Houston Ship Channel. To the left and right is the tidal pool I got some water and sand from.
The tide was out, and the sand from the ocean side … well it’s a lot coarser and filled with little bits of shell and whatnot. I found a little bit of seaweed that I’m pretty was dead already, but I threw in. And I took a little piece of grass that was growing near the tidal pool. I don’t thing it will survive, but we’ll see.
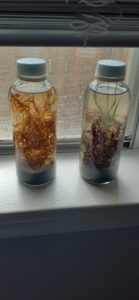
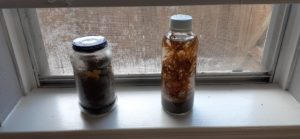
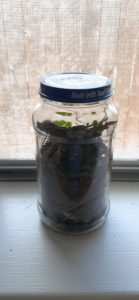
So there it is with the other Sea-O-Sphere on the window sill. Looking at it, I thought I saw something swimming around in it. I tried to get a picture, but it came off looking a bit like one of those photos of Big Foot.
Sea-O-Sphere
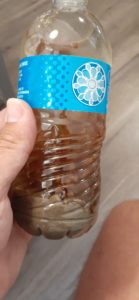
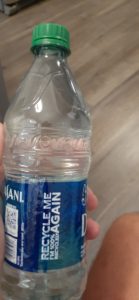
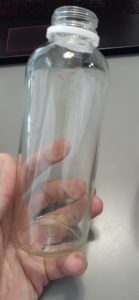
So I went to Corpus Christi for 7’s by the Sea. I got half way there when I realized that I had left the glass jar I had intended to put everything in at home. Ooops. Fortunately I had a couple of empty water bottles I could used.

After the tourney while we were packing up, I took a moment to go out and get two bottles of ocean water, some salt, a little mussel, and some seaweed.
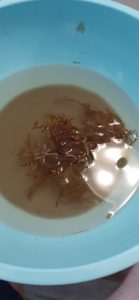
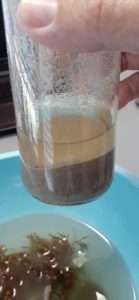
When I got home I dumped the seaweed and sand out in a bowl. It smelled kinda bad. Hope that’s not a bad sign.
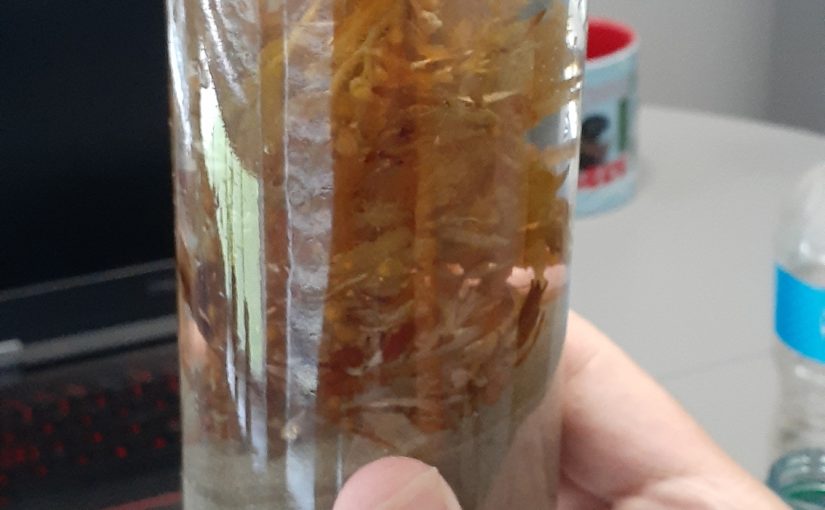
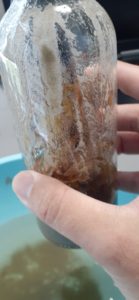
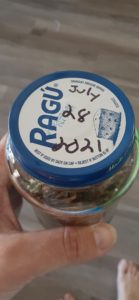
So then I started putting everything in the jar. I’m using an old kombucha jar from HEB for all of this.
So I shoveled in the sand and stuck the seaweed in there. And the mussel as well. I think it might be dead, but I put it in there anyway.

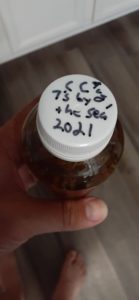
And here’s the finished product on the shelf!
I think I might head to Galveston this weekend. If I do, I’ll make another Sea-O-Sphere from water/seaweed from there. I’d be interesting to see if anything different happens between the two.
Life in (a Prego) Jar
I’ve been watching a lot of Life in Jars on YouTube lately. I’ve always been fascinated by little self-contained ecosystem. When I was a kid, I did a very bad terrarium for a science project (I don’t think I got a good grade on it). I had the aquarium for a long time after and used it to keep critters and crawdads in until a friend knocked it over.
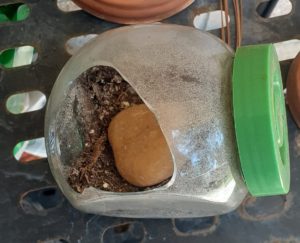
When I lived in Austin, I made a little terrarium from an old candy jar. The bottom had some polished rocks. I’m not sure why I put those in there. It had a little fern plant, some moss, and a snail that I had found out on the Barton Creek Trail. Also, a rock from the parking lot of my apartment. The snail didn’t last long … just not big enough a space for it. The moss did well, but the fern would wax and wane. Unfortunately, during the last move the jar took a bit of a tumble and the rock inside broke the glass.
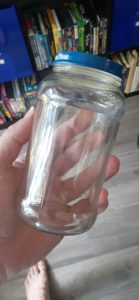
So I had an empty jar that was previously home to some Prego Alfredo sauce – yeah, I know, I could make it myself, but I’m lazy – so inspired by Life in Jars, I decided to stick some stuff in it and see what happens.
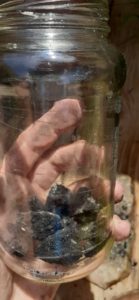
I started with some charcoal. I think this is supposed to help filter water? I just took a briquette and crunched is up using two large rocks.
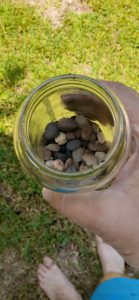
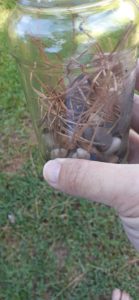
Next I added some rocks and pine straw. I don’t think the pine straw is too good – I think it tends to make soil acidic. But meh … we’ll see what happens.
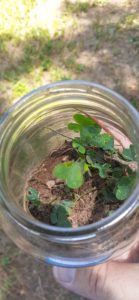
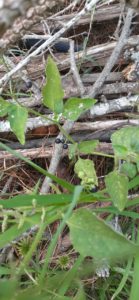
Next some dirt and a little clover plant that I dug up in my back yard.
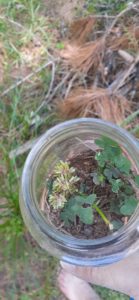
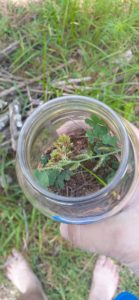
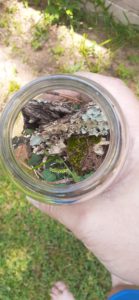
I threw in some of these grass seeds, some berries, and a few pieces of wood with lichen and whatnot on it.
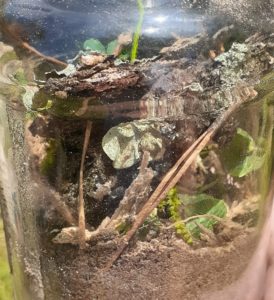
I was looking for some pill bugs but I couldn’t find any. I did find a worm and dropped him in. But then I thought: this little ecosphere is too small to support it, but he had already started squirming away before I could get him out.
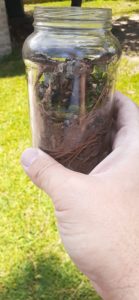
There’s the finished jar, lid and dated, and into the window seal. We’ll see how it does.
I’m going to Corpus this weekend for a Rugby 7’s tourney. I’m taking a little jar that I’m going to use to get some sand, salt water, and maybe some seaweed, and see what happens to it.
Installing Linux on an old Mac
I have an MacBook that’s about 8 years old – practically dead in Apple years. I had stop using it regularly about 4 years ago when Apple decided to stop supporting OpenGL which broke a lot of the games I play. I still used it for random things every now and then, but all the constant os updates and now bloated and sluggish macOS made it impossible for day-to-day stuff.
I had been thinking about installing Linux on it for a while now, but avoided it because installing non-Apple operating systems on a Mac is always a bit of a pain. But the straw that broke the camel’s back was when I went to use it the other day – it had been a couple weeks – and it absolutely refused to connect to the WiFi.The issue: one of my neighbor’s has a misconfigured wireless device that has it’s Country Code set to Germany. Apparently this is a common problem, and Apple’s advice is to reconfigure or dispatch the offending device. Difficult if it’s not your device. Yet another one of those snotty Apple annoyances.
With the very real prospect of never being able to connect to the WiFi again looming over me, I decided that now might be a good time to try Linux out on a Mac. While the whole process took about 2 days for me due to exploring and whatnot, the streamlined process below should take you about an hour. If you have a newer Mac, you *shouldn’t* have to do this. But I don’t have one to test this out on so I don’t know.
Step 1: Create a USB Boot Disk
I have another Linux laptop and a hand full of USB Thumb Drives, so that wasn’t too much of a problem. You can just follow the instructions at https://ubuntu.com/tutorials/create-a-usb-stick-on-ubuntu#1-overview.
Step 2: Go get rEFInd DEB Package
rEFInd is a boot manager with a lot of neat features, one of them being able to be installed on an HFS+ partition. Even though the Mac hardware should be able to read a EFI Boot Partition in FAT32 and start GRUB, it REALLY wants a HFS+ partition. “No worries,” you think to yourself, “I’ll just format the EFI Boot Partition HFS+.” But the GRUB Installer doesn’t seem to like HFS+. That’s where rEFInd comes it. It can be put on an HFS+ EFI Boot Partition and be started by the Mac hardware just fine. You can get the rEFInd DEB Package at http://www.rodsbooks.com/refind/getting.html. Put that on a separate USB Drive – we’ll use it in a minute.
Step 3: Boot the USB and Install Linux
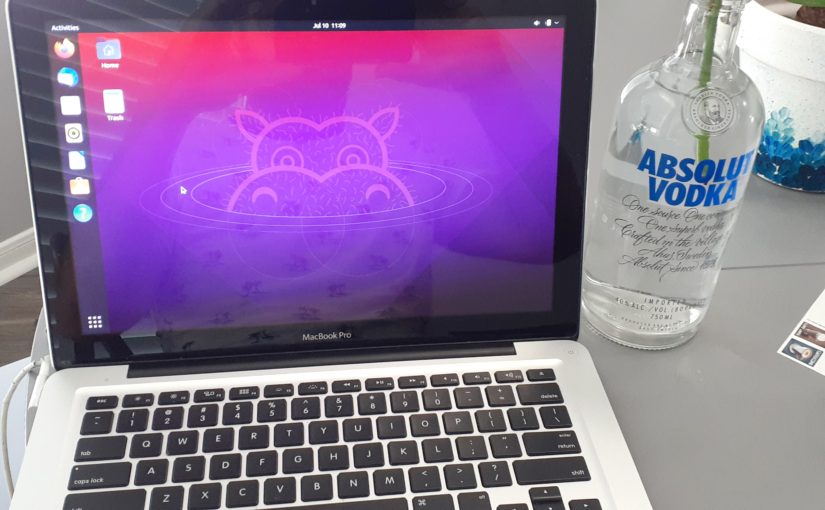
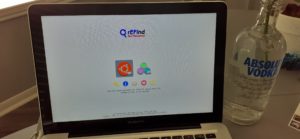
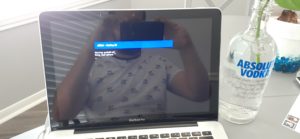
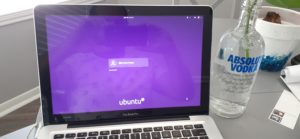
Power off your Mac, insert the bootable Ubuntu USB, and then power on the Mac while holding down on the left Option (or Alt if your using a PC keyboard) key. You should be able to choose to boot the External USB. Once it gets going, select “Try Ubuntu” to get the desktop environment going. From there, start the Ubuntu install. When you’re done, it’ll drop you back onto the Desktop.
Step 4: Install rEFInd
Remember that DEB file we put on the other USB? Go on and insert that guy and copy the DEB file to the desktop. Don’t try and install it by double-clicking; you’ll need to install from terminal:
sudo dpkg -i refind_0.13.2-1_adm64.deb
This will format the EFI Boot Partition in HFS+, copy rEFInd onto it, “bless” the folder, and some other magic.
Step 5: Profit!
That’s it. You should be able to reboot and you’ll get the rEFInd menu where you can select and load Ubuntu. If you didn’t wipe the drive and still have other OS’s on there, they should show up too.
There’s still other things you’ll have to do, like Enabling Proprietary Drivers, but not too much more.
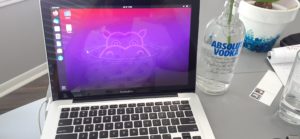
Is it worth it? Well … I booted into Linux and everything seems to be running smoothly. I forgot how much a nice display can make an OS look … brighter? So hopefully this will help me get a few more years out of this laptop!
Hat Tip to: Rodrick Smith (rEFInd)

Welcome Back
Man. It’s been a while since I’ve been here. I intended this website to be a professional sight, but I don’t think that ever quite worked out.
I’m kinda burned out on social media like Facebook and Twitter. And I’m at that age where I haven’t got the patience for the new social like Tick-Tock and Instagram.
But there are still things I want to share with others. So here we are again. Less professional … more semi-professional?
Newsflash: UHD
In which I play a “library patron.”
Update: It looks like this video finally got pulled from the UHD YouTube Channel. Oh well. Nothing is forever.